Recipe
Gluten-Free Waffles Recipe
This page contains affiliate links – if you buy through them we may earn a commission, at no extra cost to you. The recommendations are our own assessment. As an Amazon Associate we earn from qualifying purchases.
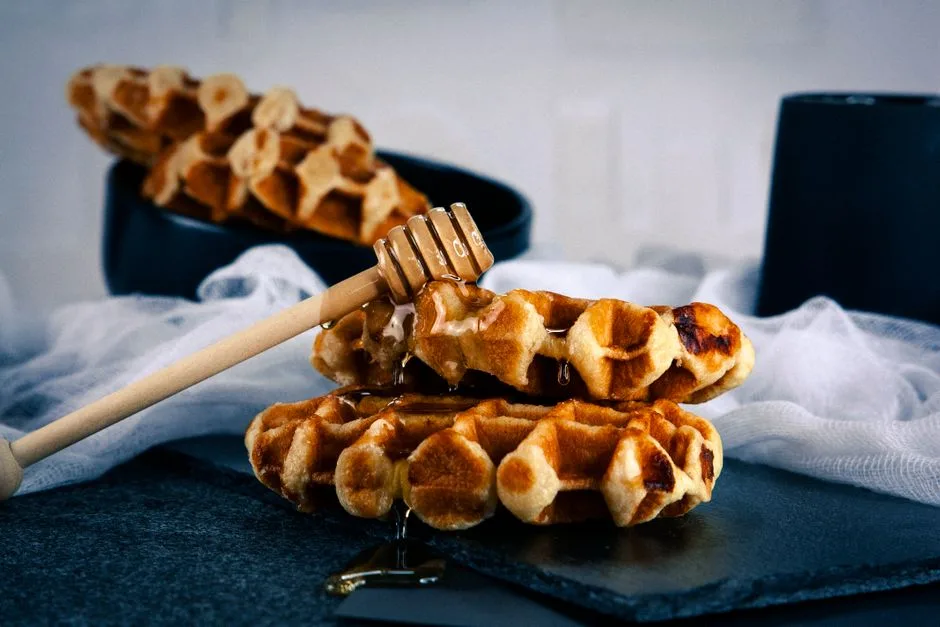
Gluten-free waffles have a reputation for turning out either gummy or cardboard-dry, but the fix is mostly technique. A good 1:1 gluten-free flour blend does the heavy lifting, while a little cornstarch and whipped egg whites create that shattery, crisp exterior with a tender, steamy center. This recipe is weekend-friendly, freezer-friendly, and forgiving enough for a first attempt. Below you will find the full recipe card, hard-won waffle iron tips, and answers to the questions people ask most.
Crispy Gluten-Free Waffles
Ingredients
- 2 cups (240 g) gluten-free 1:1 all-purpose flour blend (ideally one containing xanthan gum)
- 2 tablespoons cornstarch
- 2 tablespoons granulated sugar
- 1 tablespoon baking powder
- 1/2 teaspoon salt
- 2 large eggs, separated
- 1 3/4 cups (415 ml) milk or unsweetened dairy-free milk
- 1/3 cup (75 ml) neutral oil or melted butter
- 1 teaspoon vanilla extract
Instructions
- Preheat the waffle iron to medium-high, or per the manufacturer's instructions.
- In a large bowl, whisk together the flour blend, cornstarch, sugar, baking powder, and salt.
- In a separate bowl, whisk the egg yolks, milk, oil, and vanilla until smooth.
- In a clean bowl, whip the egg whites to soft peaks.
- Pour the wet mixture into the dry and stir until just combined, then rest the batter 5 minutes to hydrate the flour.
- Gently fold in the whipped whites in two additions, keeping the batter light.
- Lightly grease the hot iron, add batter, and cook 4 to 5 minutes until the steam slows to a wisp and the waffle is deep golden.
- Transfer waffles to a wire rack, or hold in a 200°F (93°C) oven, instead of stacking, so they stay crisp.
Waffle Iron Tips
- Fully preheat the iron: gluten-free batter needs a hot surface to set and crisp. Wait for the ready light, then give it one more minute.
- Grease every batch: even nonstick plates benefit from a light brush of oil to boost browning and prevent sticking.
- Don't lift the lid early: opening mid-cook tears the waffle. Wait until the steam slows, usually 4 to 5 minutes.
- Cool on a wire rack: stacking traps steam and softens the crust, while a rack or warm oven keeps them crisp.
- Rest the batter 5 minutes: gluten-free flours need time to hydrate, which reduces grittiness and improves texture.
Labels and cross-contamination: a gluten-free statement on the packaging is a regulated claim, permitted in both the EU and the US only where the food holds no more than 20 mg of gluten per kilogram. Baking powder, oats, and flavorings without that statement have no checked gluten level. Gluten also travels outside the ingredient list, through a waffle iron, bowls, and utensils that have touched wheat flour. This article is for general information only and is not medical or dietary advice. What applies to you with celiac disease or a wheat allergy is a question for a doctor or dietitian.
Why are my gluten-free waffles soggy?
Usually it is trapped steam. Cook until the steam nearly stops, avoid stacking, and cool the waffles on a wire rack. For extra crunch, hold them in a 200°F (93°C) oven for a few minutes before serving.
Can I make the batter dairy-free?
Yes. Swap the milk for an unsweetened plant milk and use neutral oil instead of butter. The texture stays nearly identical, though butter adds a little more browning and flavor.
Which gluten-free flour is best for waffles?
A 1:1 all-purpose blend that already contains xanthan gum works best because it mimics wheat's structure. If your blend has no gum, add about 1/2 teaspoon. See our substitution chart for swaps.
Can I freeze gluten-free waffles?
Absolutely. Cool them completely, freeze flat on a tray, then store in a bag for up to 2 months. Reheat straight from frozen in a toaster or a 375°F (190°C) oven until crisp.
How do I make them crispier?
Include the cornstarch, do not overmix, and be generous with fat. A hotter iron and a wire-rack cooldown make the biggest difference in crunch.
Related guides